
DLP Slicing::11.23.2016+15:08
A couple months ago I was talking to a former coworker, Chad Hamlet, about 3D printing and he brought up a gripe he had with his workflow where it would take hours (potentially 12+ hours) to generate the slices he needed to use as input for his DLP printer. To put things into perspective, the actual prints take as long, if not much longer depending on what’s being printed. My kneejerk reaction was that this was ridiculous and that he should be able to generate slices in a significantly shorter time, especially with GPU acceleration. He mentioned that there was a prototype app that was done during a hackathon at Formlabs, but he couldn’t get it working for large models with millions of polygons (his ZBrush output). With the knowledge of how that slicer worked, I started on making a standalone one in C++ that could handle his workloads.
Slice Generation
For the slice generation algorithm to work, the model has to be water-tight (manifold). This means that there aren’t any discontinuities in it, the reason for which should become clear soon. This presents some problems when printing because it normally means that the user has to do a bunch of CSG operations to carve out holes for the resin to drip out of. As it turns out, there’s actually some tricks that you can use to make holes without doing CSG. Additionally, the model can have multiple overlapping and intersecting pieces as long as each piece is water-tight.
The general idea of the algorithm is to continuously slice through the model taking note of what’s “inside” and “outside”. To do this analytically, it would be insanely expensive and take a really long time and you’d probably use something like raytracing. Instead we use the GPU and the stencil buffer to accelerate this, since most GPUs can render millions of triangles in a couple milliseconds.
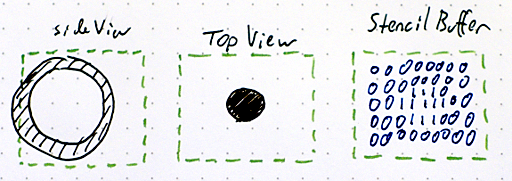
To start out, let’s envision the intial setup of the world. There’s a model, in this case a hollow sphere, positioned in the center of our camera volume, which we’ll take to represent the print volume. We’re seeing this from the side, and the left is the bottom (far plane of the camera) and the right the top (near plane). To generate the slices, we’re going to render this model while sliding the camera volume toward the top end (but not change the size or shape of the volume). Our rendered slice will look like the intersection of the bottom of this volume and the model.
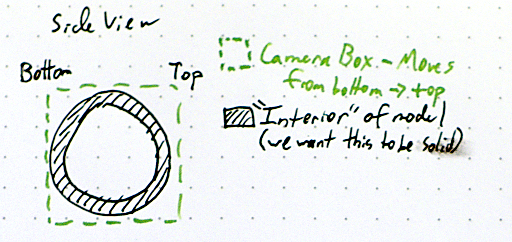
In this implementation, we’ll be using the stencil buffer, which is a pretty old hardware feature that allows us to do math by rendering geometry. If you’ve played Doom 3 or any idTech 4 games, you’ve seen this in action as they use the stencil buffer to render out their shadows. In fact, they are also concerned with knowing the inside of models versus the outside. For this algorithm, we’re going to start by disabling face culling; normally you’d only want to render front faces but we need both front and back faces. Then, we configure the stencil buffer operations such that whenever a front face is rendered, we decrement the value in the buffer while wrapping around (the stencil buffer holds unsigned integers), and when a back face is rendered, we increment and wrap. What this means is that any geometry that doesn’t have a matching “other side” will leave a non-zero value in the stencil buffer. Since we’re slicing through the model, the intersection of the model and the far plane will do exactly that. To get the actual rendered slice, we then just need to draw a white plane masked against the non-zero stencil buffer.
Optimization, Improvements, Tricks
The Formlabs implementation does quite a bit of unnecessary work, namely rendering the model three times: once with front-faces, once with back-faces, and then a third time to actually render the slice. In my implementation I only render it once because it’s possible to configure the hardware to handle front and back faces in one pass. The third pass is also complete overkill since you just need to mask something against the stencil buffer. A single, fullscreen triangle is enough here; there’s no need to re-render the model. For a tiny model this optimization won’t really make a difference, but for something with millions of triangles, it’s the difference between 5 minutes and 15.
Something my coworker pointed out was that adding antialiasing to the slices would result in various levels of partially cured resin on the edges of the object, meaning that you can get a significantly smoother surface versus just black and white. To this end, I added support for using MSAA for antialiasing. The program will detect and clamp this setting accordingly, but there are some broken drivers out there that report being capable of MSAA but then crash when actually using it.
The final slices get saved out to disk as PNGs. Something worth noting is that PNG has a subformat for 8-bit per channel greyscale images. Since we’re going to be rendering greyscale images, it’s important to use this instead of the standard RGBA, 32-bit format. This will both cut down the amount of disk space required and the amount of time it takes to compress the slices.
Some miscellaneous features include being able to specify all of the parameters of the printer in the config file, being able to scale the model (useful for testing or if you’re not modelling in the same units as the output), and validation of the model against the print volume.
I mentioned earlier that it’s possible to avoid doing CSG operations on the mesh but still punch holes in it, which is useful when you want to duplicate, scale, and invert the model to make a shell. To do so, you duplicate the polygons on both surfaces where you want the hole to be and invert the normals of each side. This will, in effect, make it so that that part of the surface always has both a front and back face, leaving an opening. These don’t have to be manifold as long as their edges are aligned on the up axis (Z in the case of this program).
Results
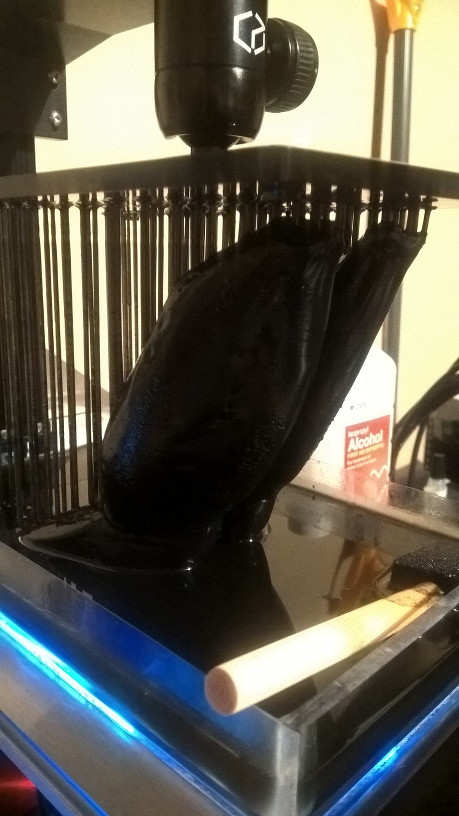
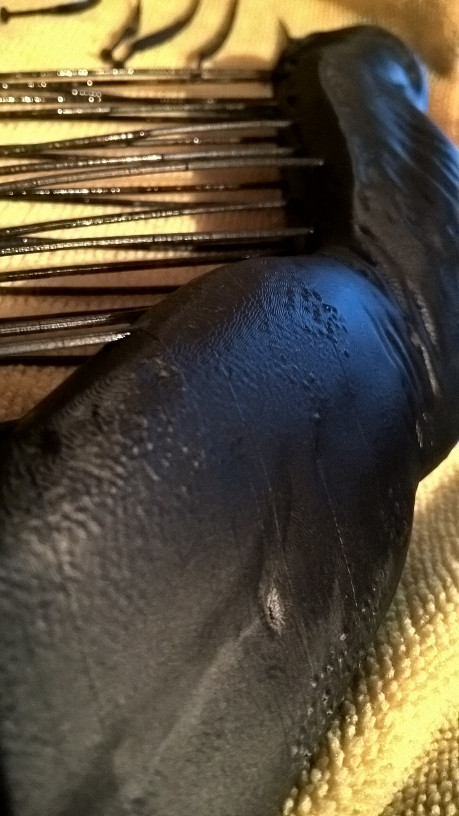
On my GTX 1080, I’ve timed a five million triangle model as taking around three minutes to slice (~4000 slices). This is over 240 times faster than the software that my coworker was previously using. So I consider all of this to be pretty successful. I was originally going to make the program multithreaded so the CPU could build up a frame or two of data while waiting for the GPU to render, and also make the image compression and saving happen in a different thread. These could be added and it would generate the slices even faster than it does now. Switching to a modern API like Vulkan (it uses OpenGL right now) would enable further speed increases since transferring the rendered image back to the CPU could be done in an asynchronous way (it’s synchronous in GL). I’ll leave these as exercises for the reader.
Chad sent me a bunch of pics (you can see more on his blog) and I’ve reproduced a few of them here to show off the nice result that he was able to get.
 |
 |
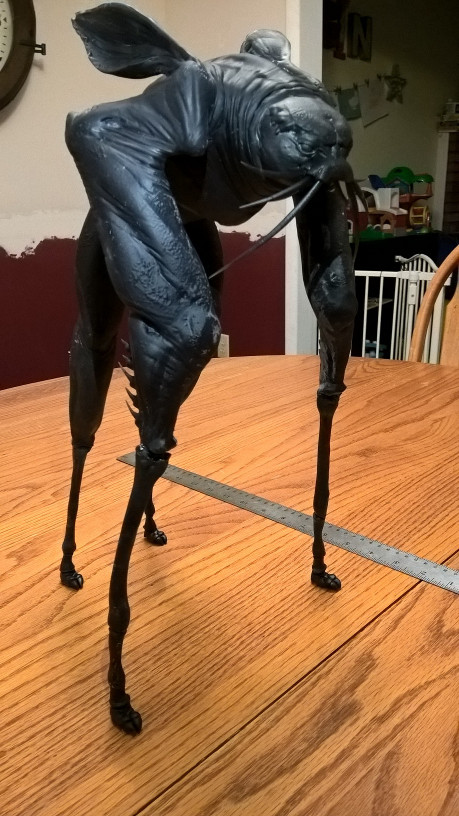 |
Get It
I’ll be making a packaged version available soon, but I need to draft up an appropriate freeware license. If you’re a programmer, though, you could pretty easily write your own version from this description. Feel free to contact me with any questions about how it works.